Instruction Booklet
Introduction to what Eco-Jars are An ecosystem in a jar is a self-contained miniature world that replicates the natural balance of an ecosystem. It is like having a tiny garden or forest inside a glass container. This fascinating project allows you to observe how different organisms interact with each other and their environment. Creating an ecosystem in a jar is a fun and educational project that you can do at home. It allows you to observe how plants, animals, and microorganisms interact with each other in a closed environment. Here is a step-by-step guide on how to make your own ecosystem in a jar.
Before you start, make sure you have all the materials you need. Here is what you will need: 1. A clear glass jar with a lid 2. Gravel or small rocks 3. Activated charcoal (optional) 4. Potting soil 5. Small plants (like moss or ferns) 6. Water 7. Small decorative items (optional)
The base of your ecosystem will provide support for the plants and help with drainage. Follow these steps to prepare the base: 1. Add gravel or small rocks to the bottom of the jar. This will create a layer for drainage. 2. Sprinkle activated charcoal on top of the gravel. The charcoal will help filter the water and keep it clean. (This is optional) 3. Add potting soil on top of the charcoal layer. Make sure there is enough soil for your plants to root in.
Now it is time to add some greenery to your ecosystem! Here is how you can plant your plants: 1. Create small holes in the soil using your fingers or a spoon. 2. Place the roots of your plants into the holes and gently cover them with soil. 3. Water your plants lightly after planting to help them settle in.
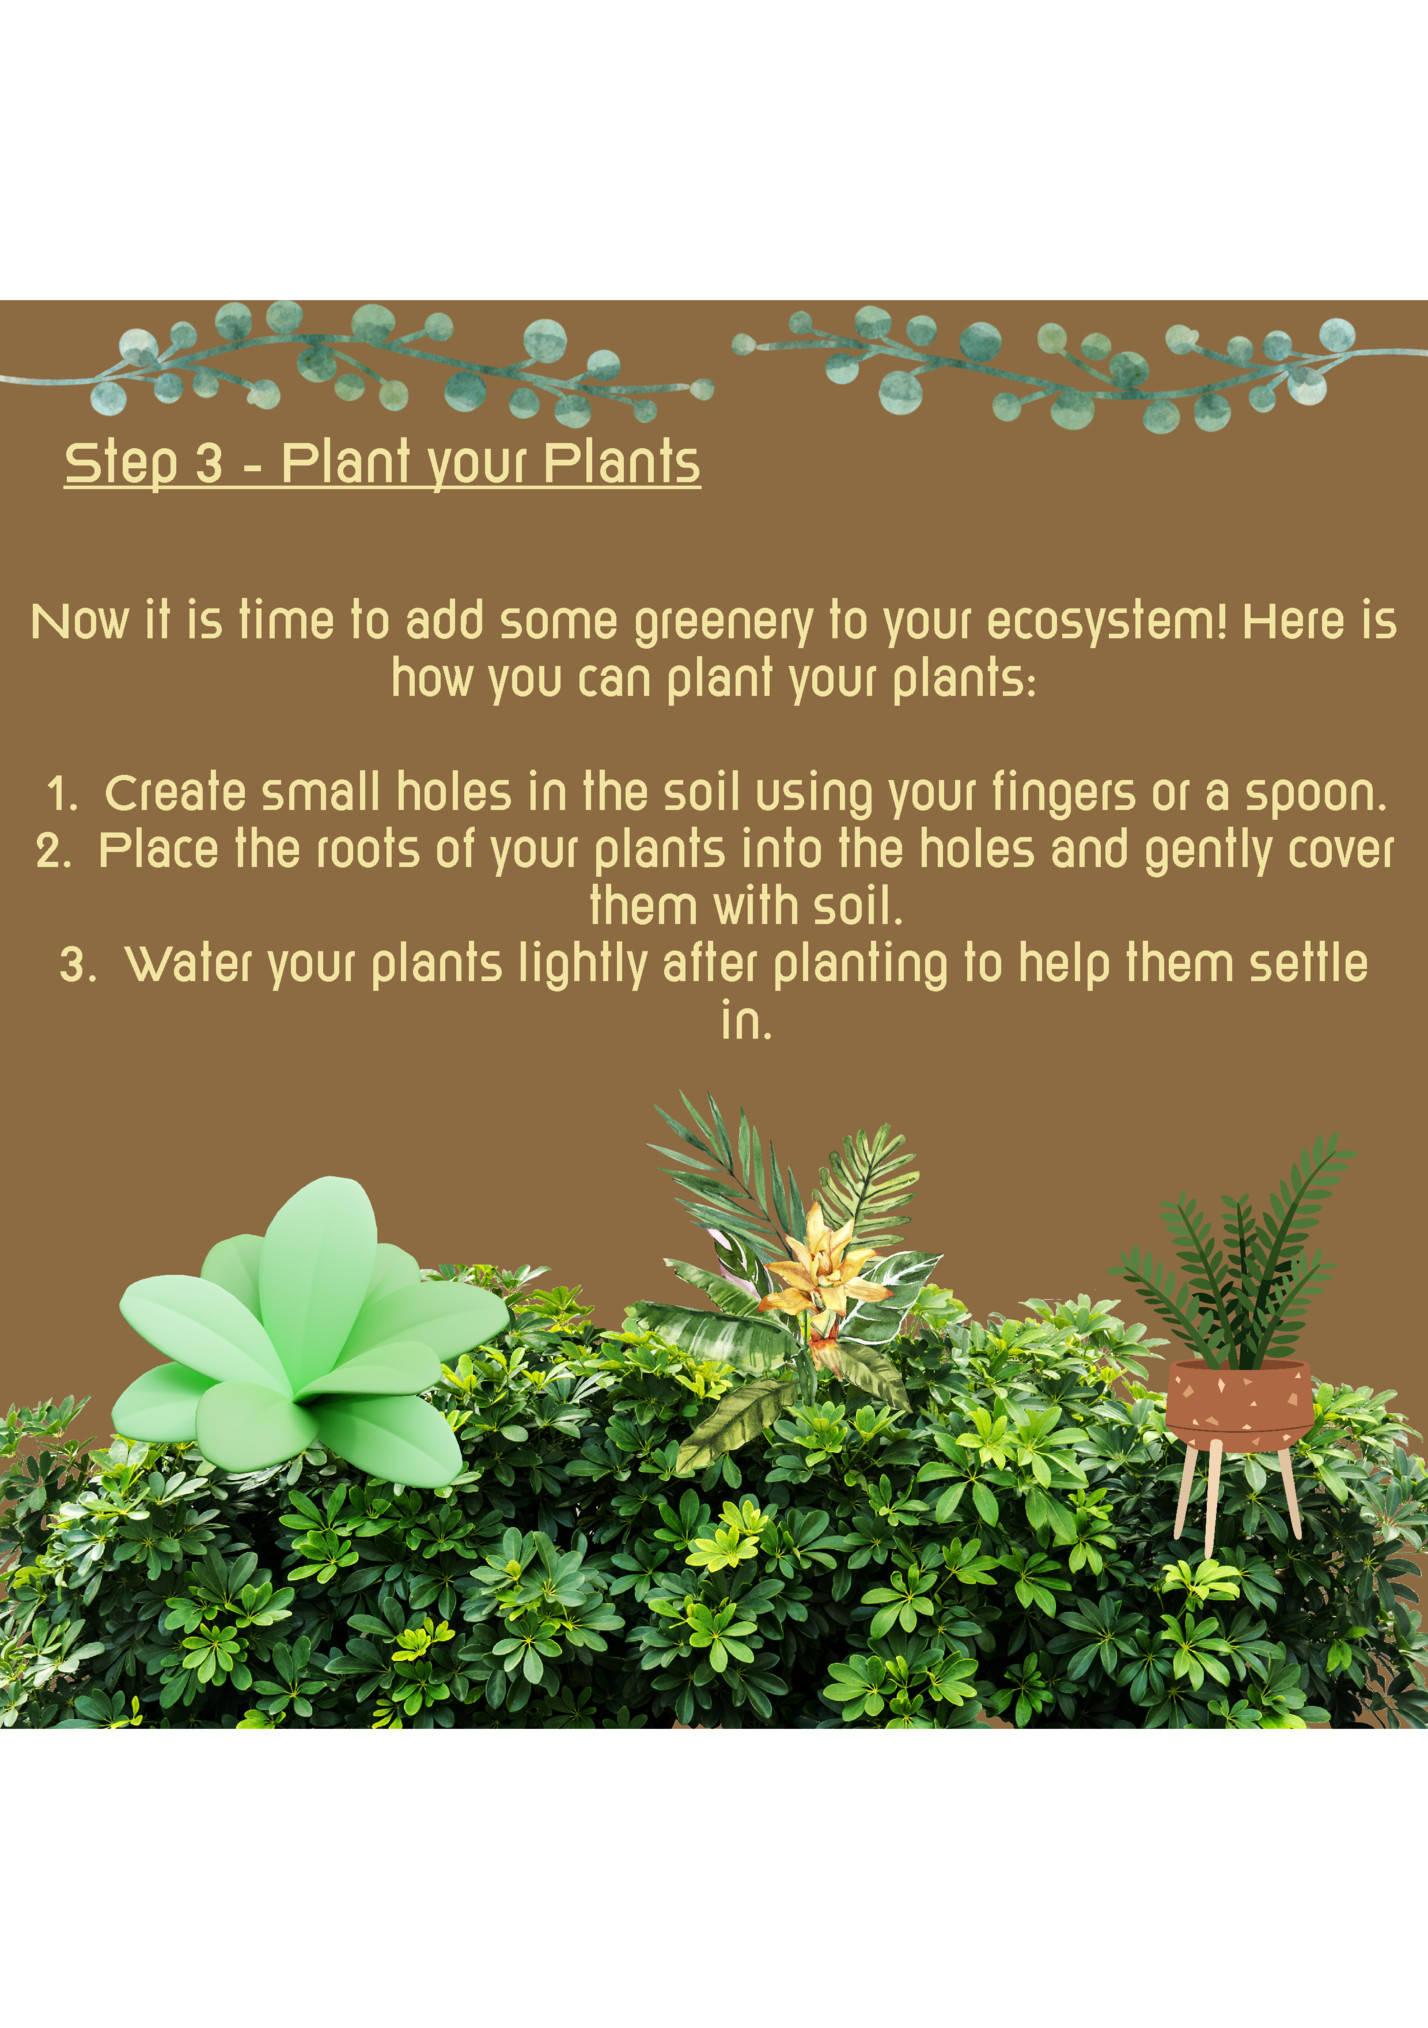
To make your ecosystem in a jar more visually appealing, you can add some small decorative items like pebbles or figurines. Just make sure they will not disrupt the growth of your plants or the balance of the ecosystem.
Congratulations, you have created your own ecosystem in a jar! Now it is time to sit back and observe how it develops over time. Here are some things you can do to maintain your ecosystem: • Place your jar in a well-lit area but away from direct sunlight. This will provide enough light for your plants without overheating the jar. • Keep the soil moist by watering it whenever it feels dry. Be careful not to overwater as this can lead to Mold growth. • Ventilate your jar by opening the lid for a few minutes each day. This will allow fresh air to circulate inside.
If you notice any issues with your ecosystem, like yellowing leaves or foul Odor, here are some common problems and their solutions: 1. Yellowing leaves: This could be a sign of too much or too little light. Adjust the placement of your jar accordingly. 2. Foul Odor: This may indicate that there is too much moisture in your jar. Try removing the lid for a longer period to let it dry out.
Yellowing leaves: This could be a sign of insufficient light or overwatering. Move your jar to a brighter spot and adjust your watering schedule accordingly. Mold growth: Excess moisture is usually the culprit behind Mold. Ensure that you are not overwatering and increase the ventilation of your jar. Remember, creating an ecosystem in a jar is an ongoing process. You will need to constantly observe and make adjustments to ensure its sustainability. It is a wonderful way to learn about ecology and how every living thing plays a role in our environment.

Fleepit Digital © 2021